Overhead Views of the Project
/Our neighbor and friend of the farm, Erik Hoffner came by today to fly his drone and take some neat pictures and videos of the building sites. Have a look at some of these unique videos of the farm. Thanks, Erik!
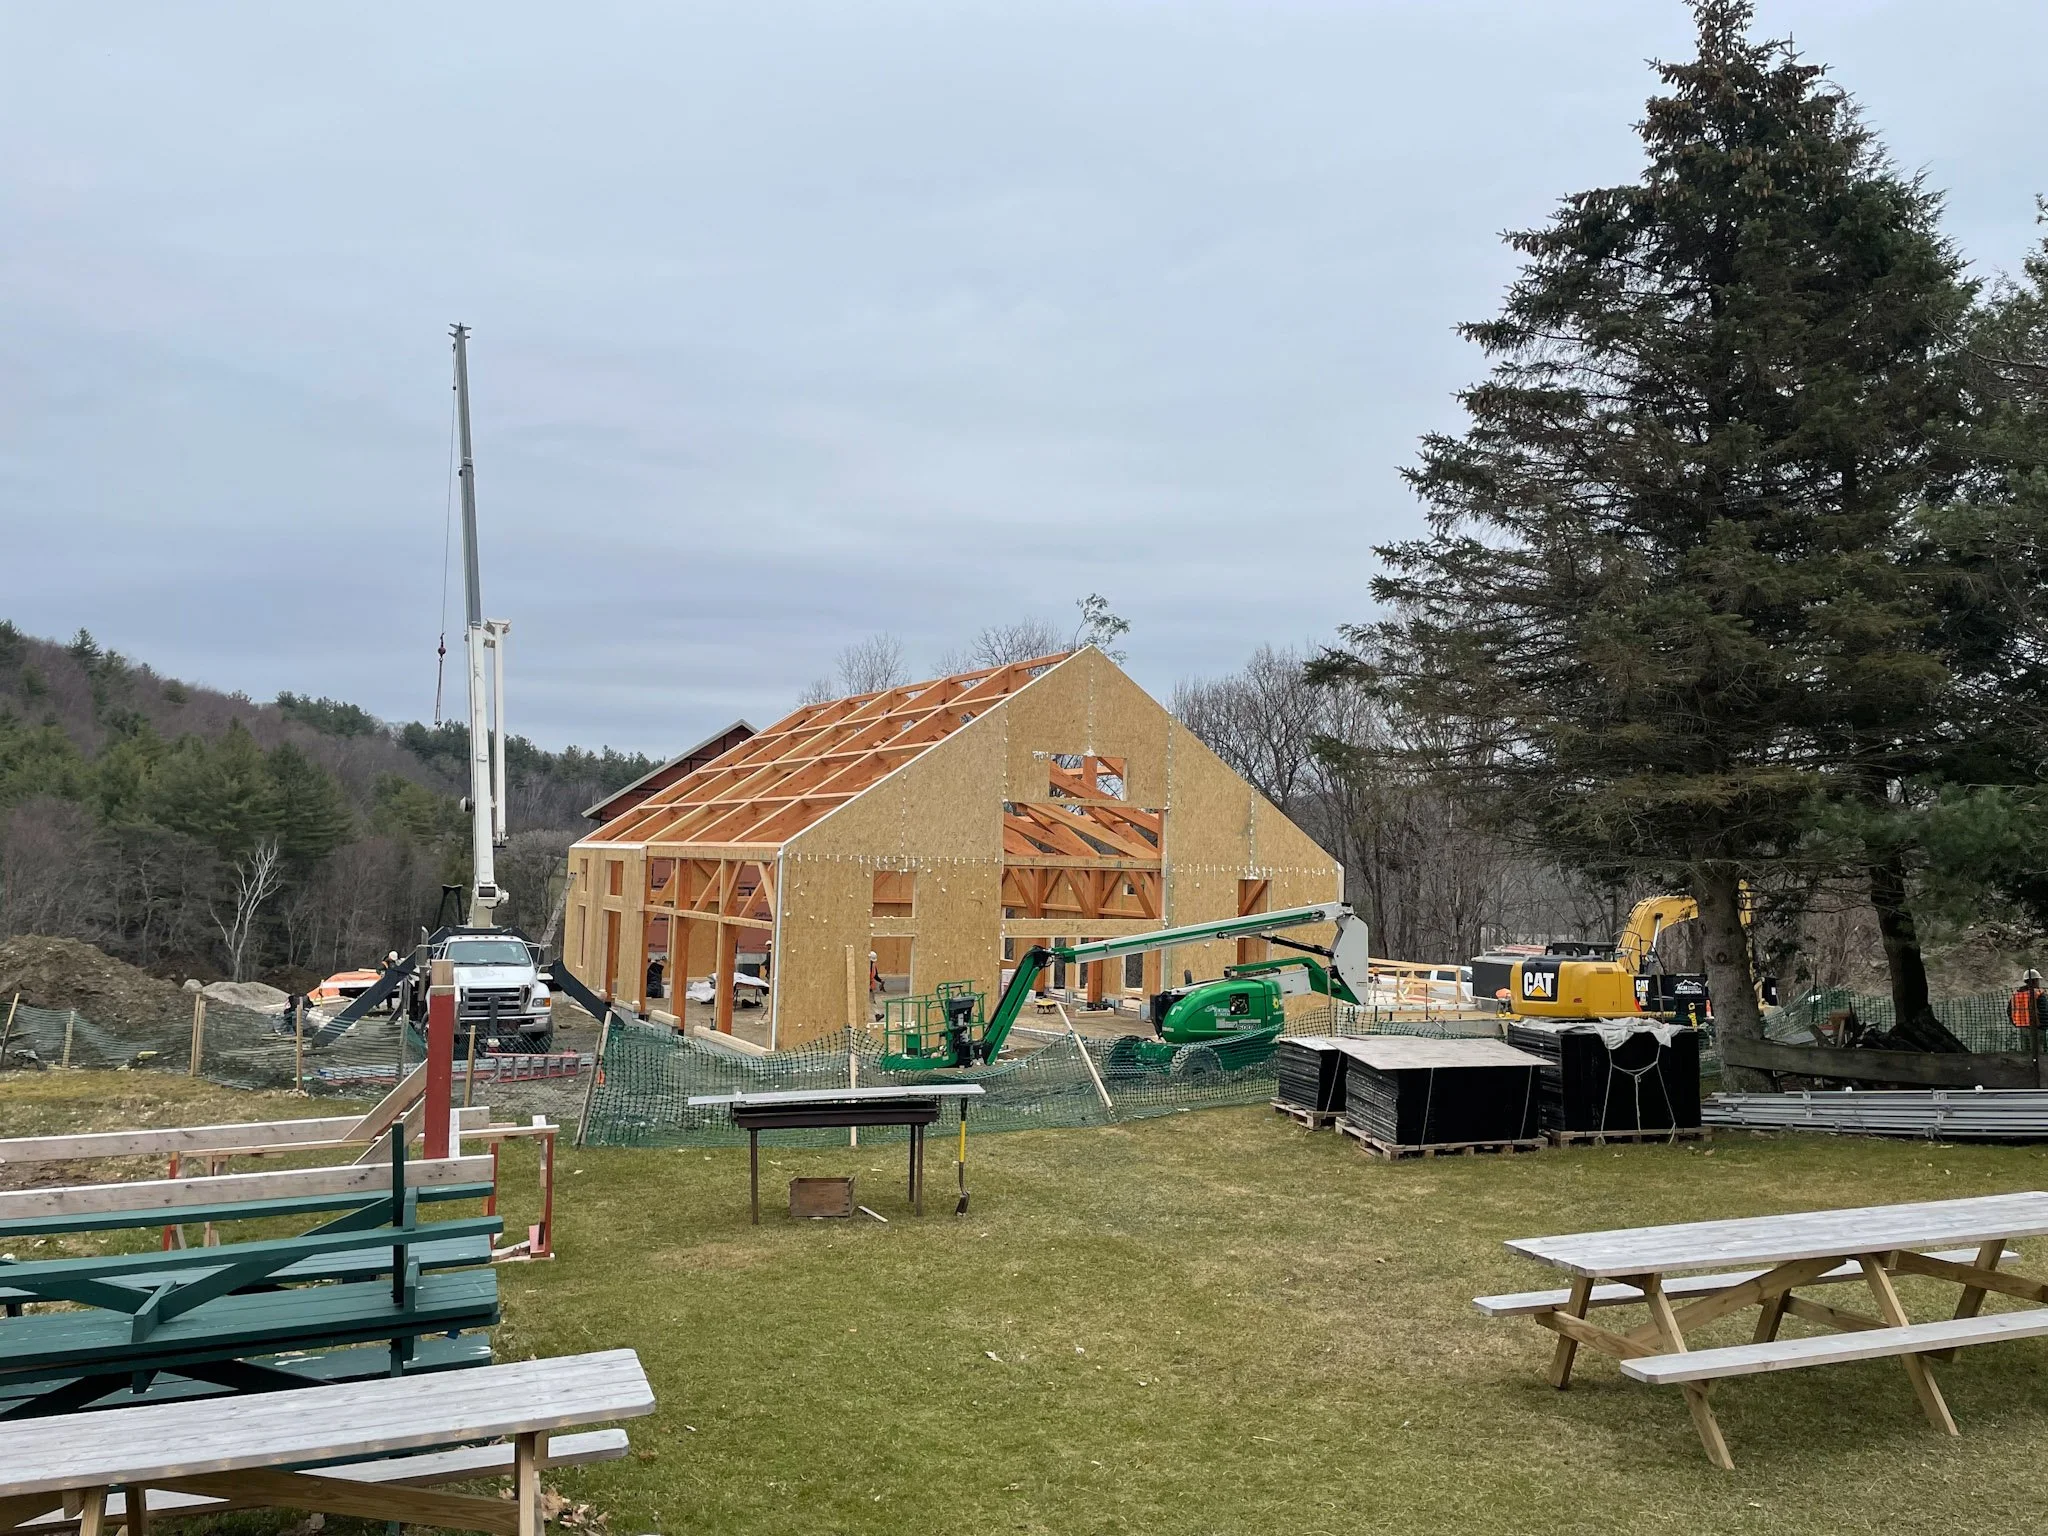
In 2021, the farm broke ground on a significant building project to replace our old program building and to construct new student housing. Now, with an amazing amount of hard work and dedicated workers, the project is on schedule to finish by the end of 2022!
This blog is an attempt to provide pictures, stories and insights into our building project. Content is added all the time, and older events that have been documented but not edited will also be added - so be sure to scroll backwards to see older events that have been uploaded. Thanks to everyone who was willing to be photographed, videoed and interviewed!

Our neighbor and friend of the farm, Erik Hoffner came by today to fly his drone and take some neat pictures and videos of the building sites. Have a look at some of these unique videos of the farm. Thanks, Erik!

Work has begun on the septic leech field. Located in our pasture across the street, this is a tough one to look at and love fully. With strict state laws on septic systems, we were required to build a leech field that was very, very, very large. The farm soils were limited in meeting the needed quality, and we were lucky to find a place to site the leech field. No septic means no buildings, and that would likely translate to no future for Red Gate Farm - so on that score, I am grateful beyond belief that were able to find a suitable location.
Of course a leech field construction of this size will dramatically alter the existing terrain. For that I have to take a big breath and look towards next year when all the disturbed ground will be regrown with pasture grasses. While our heavy ox can no longer graze on this field, we will be able to pasture sheep on the field, and so it will remain a part of our agricultural operation.

Oak floors have been installed in the student housing building! They look really nice, and not only bring a real warmth to the building, but provide a durable floor for all our young farmers who will going in and out as they work on the farm.

This mock-up shows how the ceiling assembly will go together. Black roofing paper as a background with painted black rails fastened on top. The sound absorbing material will be fixed between the rails and then covered with the wooden planking spaced at 1” apart.
When we made the decision to have a cement floor, one of the first concerns was the sound quality of the room. At about 2500 square feet, the dining hall is designed primarily for our students to gather and enjoy their daily meals together with our staff. On average, there will be 40 - 60 people eating at tables, and with special events it can be as much as almost 100 people. It was important that we didn’t have a giant echo chamber amplifying all those sounds of laughter, chattering and commraderie. Equally important was retaining the desired style of wood paneling throughout the space.
After consulting with an acoustic engineer, our architect developed a novel solution of covering the ceiling with sound dampening material and then installing the overlaying wood board with regular gaps of 1 inch. The gaps allow sound waves to be absorbed between the boards and thus reducing the echo effect which is what creates a noisier space.
The result is a ceiling that looks the way we want, but has a strong quality of sound absorption. An added bonus is a ceiling texture that is differentiated in a nice way from the wall textures.

In this partially finished bay, the 1 inch gaps will add up to the equivelant of hanging a sound-absorbing pane that would be 2 feet by 4 feet in size!

Work trailers are parked on site and contain all the important tools and materials for a job… including the microwave!

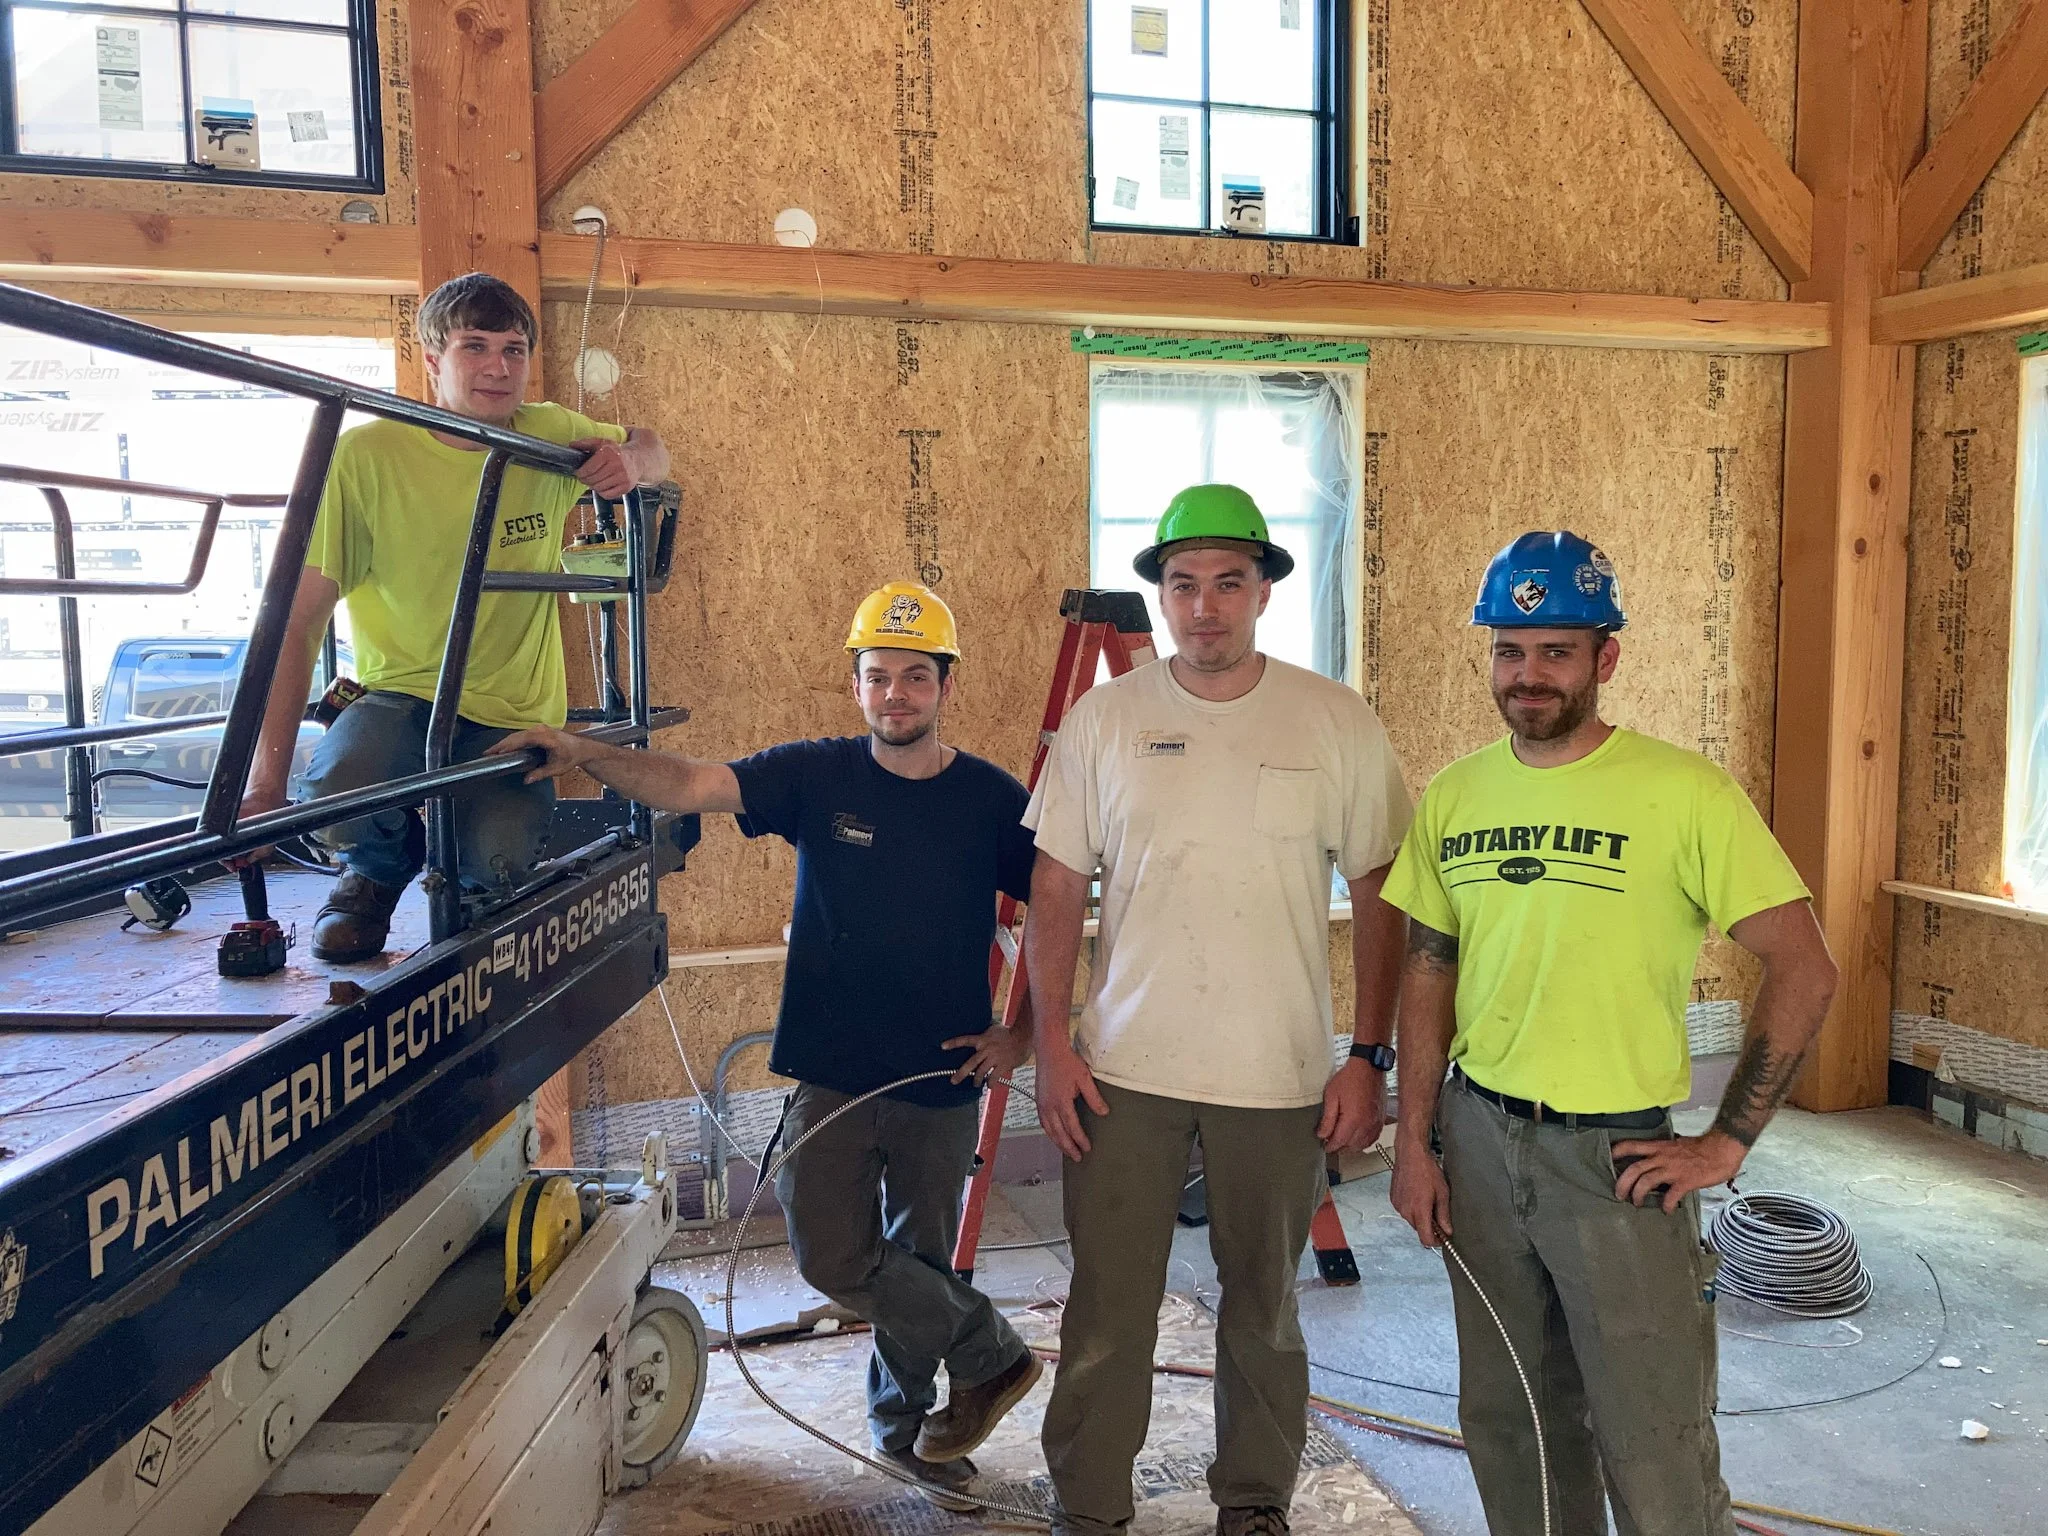
The buildings being built at the farm are large and complicated. With a myriad of systems and assemblies, each item needs to be installed thoughtfully and with care to ensure it is properly built and will last for years to come. There are many different workers on site all the time and they are all doing great work. We are grateful for their commitment to our project.

Board and batten siding on the front of the dining hall
Another visible milestone for the program building - siding! Workers have been busy installing the two types of siding on each of the buildings. In keeping with our agricultural roots, the dining room is very much styled like a barn. For this reason, we have board and batten style of siding that is typical of many agricultural buildings. On the support space structure and student housing building we elected to use clapboard siding that is similar to the siding used in our farmhouse and the little red barn.
One significant difference between the historical styles and our current application is the material used. Instead of wood, we are using cement fiber board which is much more durable and will last longer with less maintenance. Installation of cement fiber board is challenging and requires attention to detail. For example every cut end requires priming to prevent moisture uptake. Our siders are doing a good and careful job.

Clapboard siding on the support space building. The trim is made of Boral board which are composed of polymer and flyash.


wires coming up from the floor meet in a junction box. The BX (metallic wire) then continues onward to enter the wall in an access hole.
There are many components in the dining hall that need electricity. Overhead lights, fans, emergency lights, fire alarms, and electric switches and outlets to name just a few. Power to the dining hall originates in the basement space under the kitchen and then feeds into the larger space via conduits that are buried under the concrete floor. But what happens to those wires when they rise out of the ground, and how can they be hidden from view?

Wires for enter an access hole into the sip.
Many houses and buildings are built with a stud frame that is essentially hollow and can be filled with electrical wires traveling all around. However, the dining hall is a timberframe where the structural components are all inside the room and exposed. The wall is comprised of sip panels which are placed all around the structure as a “skin”. In this case our “skin” is about 12 inches thick and filled with expanded polystyrene - which is a solid foam insulation.

cut-outs from the access holes sit on the top of the wainscotting framing.
Electrical wires come up from the floor in plastic conduits that are hidden from view by a wainscotting around the lower portion of the wall. To get up higher and into the roof area, these wires are fished (threaded) through the interior of the sip panel. This is managed by drilling out access holes in the sip panels and then drilling out a narrow channel between these access holes. A string is then used to pull the wire from one hole to another - daisy-chaining up to the desired location.
Labor intensive for sure, but it allows the big space to be wired without a lot of unseemly wires stapled to the surface of our beautiful walls and timberframe structure. Check out the short video below to follow the path of one circuit.

The distance between the holes is limited to how long your drill bit is. This one is almost 5’ long.
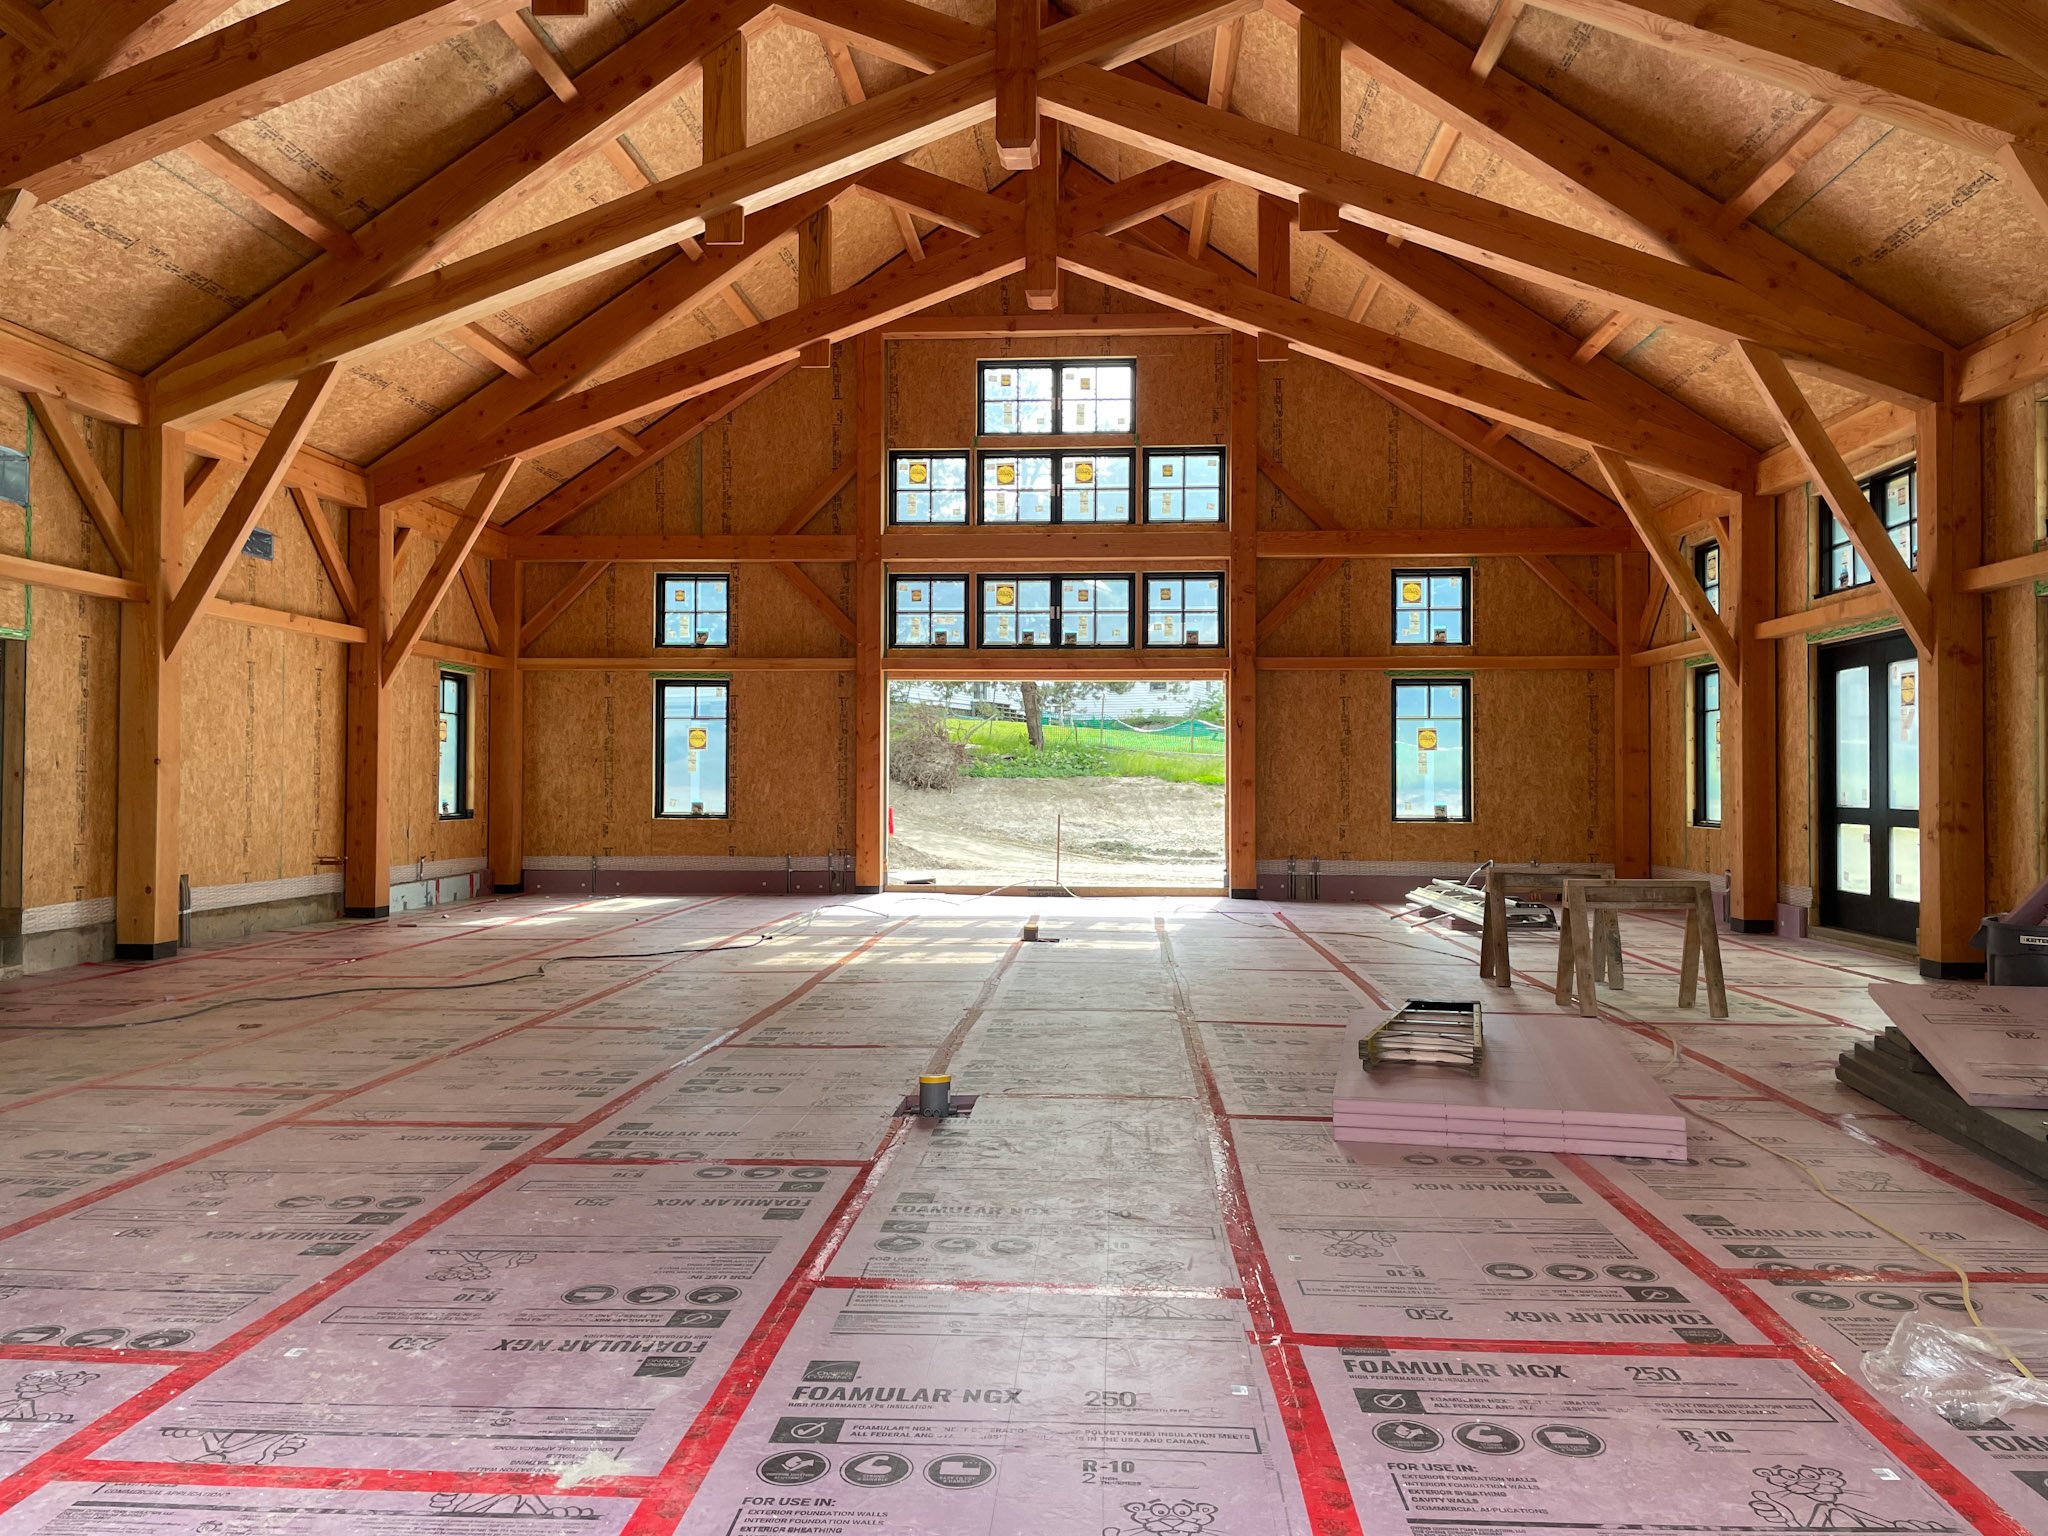
Panels of pink insulation board layed out and tape at the seams. Note the two small stacks in the center - those are electrical outlets that will be flush with the floor surface and enable us to run a projector or similar electrial device in the center of the room without requiring long extension cords.
A focus of this week is preparing the dining hall for the cement floor installation. For something as seemingly simple as pouring a big concrete slab, there is a lot of planning and work that is involved. There are many assemblies going into that floor that need to be accounted for - and once the floor is poured, there is no going back!

Cory checks measurements before cutting a panel to size. Each panel is 2” thick and there are two layers being installed - staggering the layers so that a seam doesn’t go all the way through to the floor.
Under our floor is already a spider-web of conduits and pipe for the electric and plumbing that needs to be fed on the outside walls. On top of that goes a thick layer of insulation. This will later be layered with the pex tubing that carries all the hot water in our radiant floor heating system. On top of that with be a third layer of mesh steel to reinforce the concrete and ensure it holds together properly over time.
All of these items have a thickness to them that needs to be calculated well ahead of time to ensure that the top of the floor is exactly level with the tile in the kitchen. Oh, did I mention that the kitchen floor is the determining reference point for ALL the building floor heights!?! Once we determined the kitchen tile floor height (sub-floor + tile thickness), everything gets worked backwards from that. Remarkable.
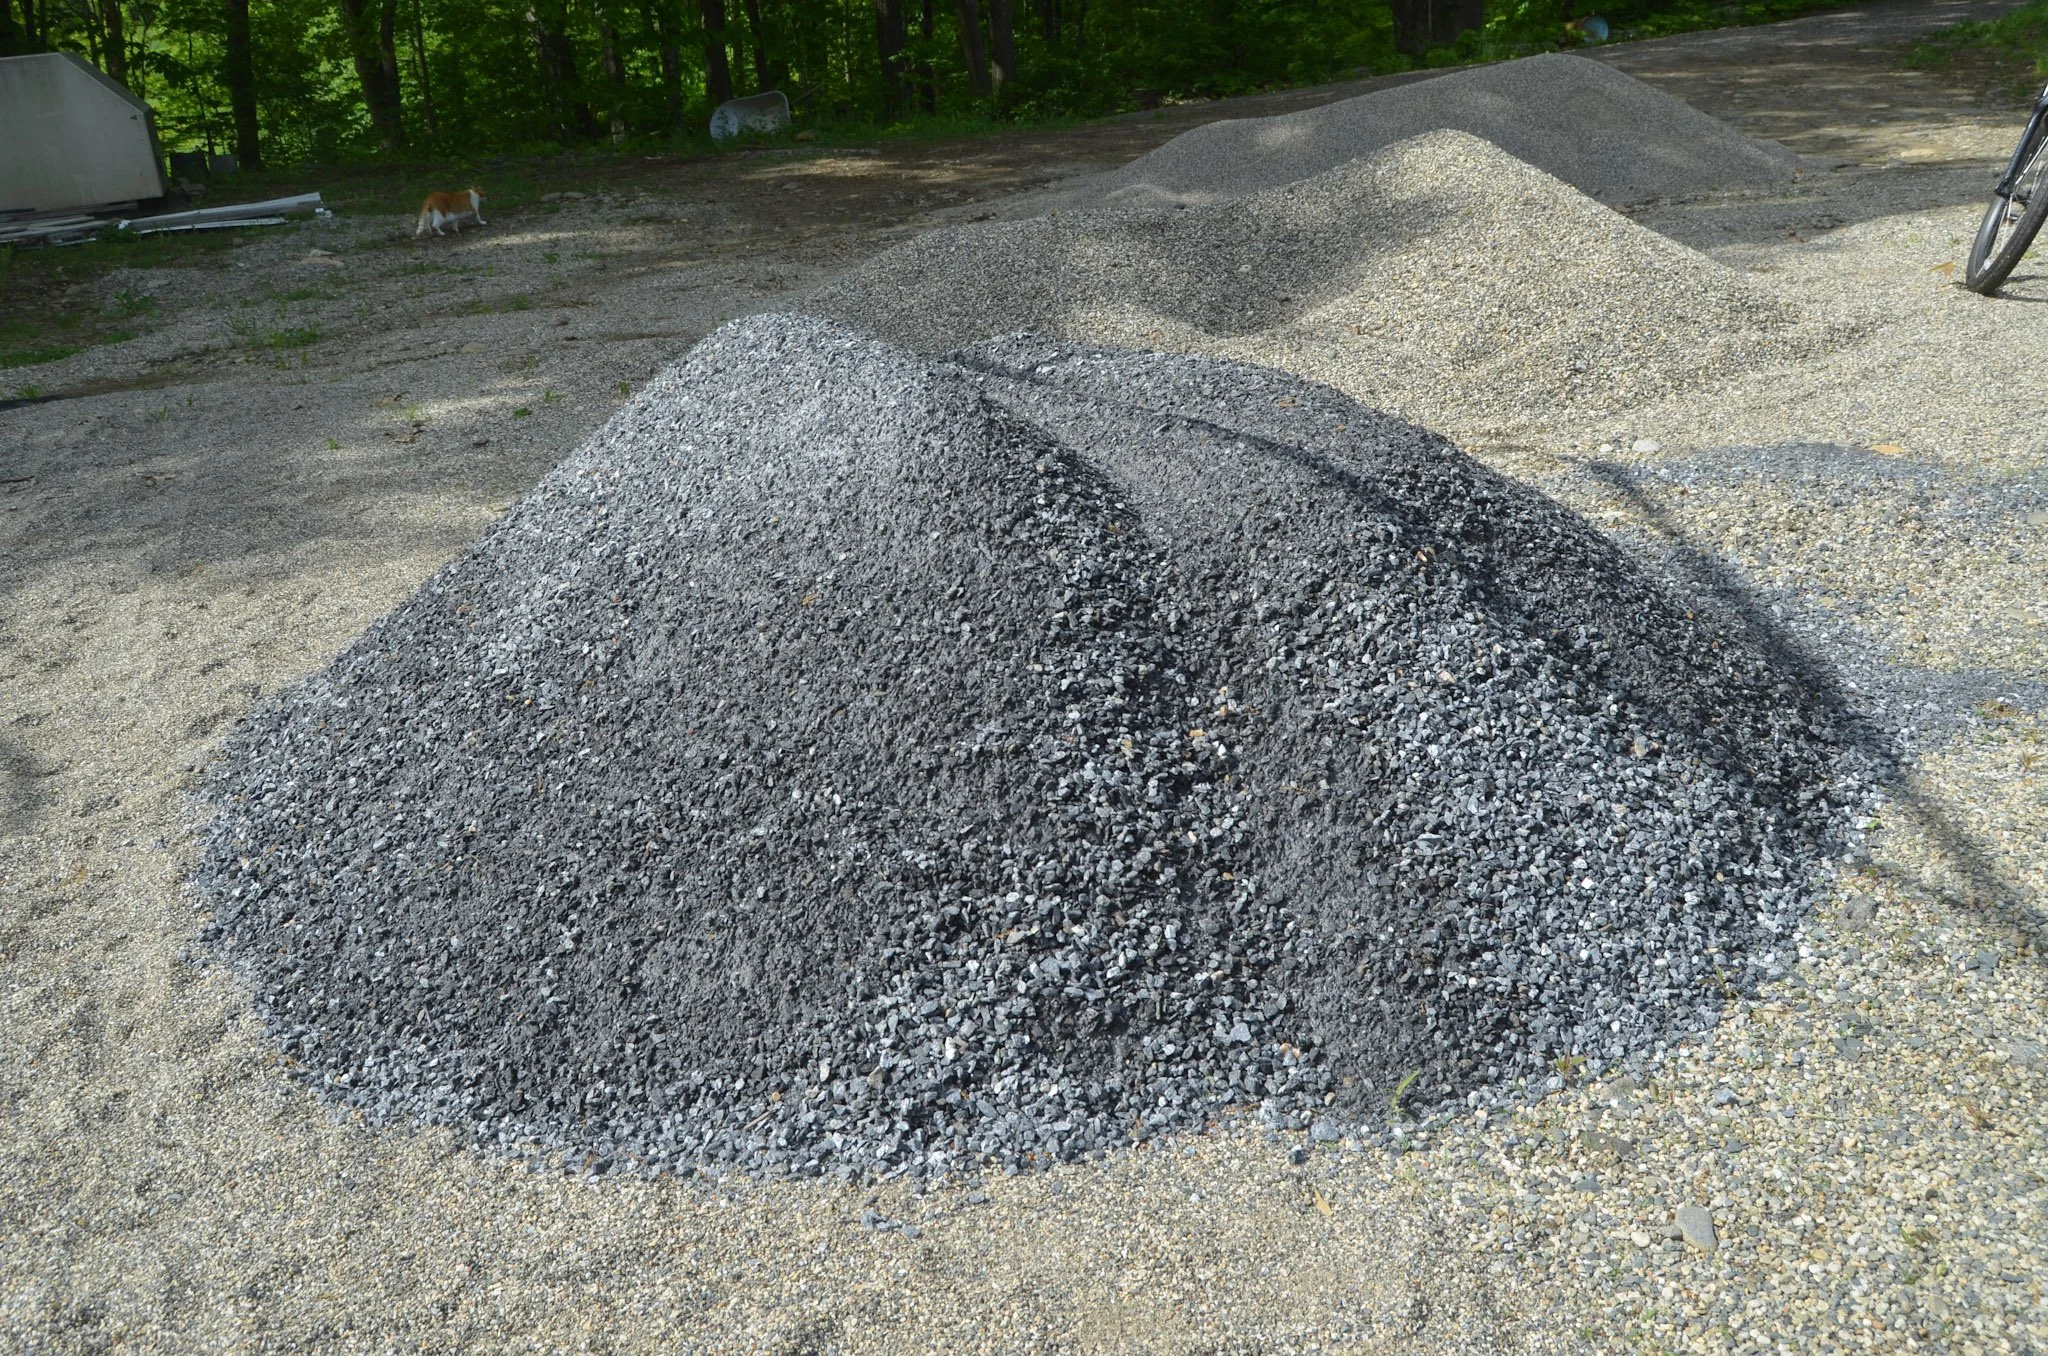
The delivered pile of crushed ashfield stone.
The floor for the dining hall is a very large cement slab. It will have the benefit of radiant heat and will be very durable - and important feature which will last through the many muddy boots of young farmers that are expected to tread over its surface. However, in chosing a concrete floor we also wanted to ensure that it had an asthetic appeal matched the majestic timberframe overhead and that made it more than just a giant gray monolith.

raw material from the Ashfield Stone quarry
After much research and discussion, we made the decision that grinding the surface of the floor was the way to go. This is a process that uses diamond abrasives to grind off the top surface of the cement floor after it has hardened. This grinding reveals the stone that is part of the concrete mix - commonly referred to as the aggregate. The result is polished, glassy-smooth floor that is surprisingly not slippery, and one that has an interesting pattern of stone revealed - similar to terrazzo floor. The effect is a beautiful, interesting floor that is also incredibly hard and resistant to scratching, stains or other kinds of wear.
To customize this floor and get a color that is appealing, one can dye the concrete to different shades, but more importantly, choose an aggregate matches color and shapes that you want. This aggregate is hand-cast over the cement after the floor has been poured, and then troweled smooth - leaving the chosen aggregate near the top and ready to be revealed.
In our case, we chose ashfield stone for its cool gray color as well as the local connection of Ashfield Stone which is located just a couple miles up the road and whom we consider a neighbor of Apple Valley. By this time, we were anxious to get a supply (about half a ton) in time for the concrete pour which was happening soon. Thus launched an interesting process to get the stone we needed.
The size of the stone was the first consideration. We wanted what is called “half-inch-minus” which refers to crushed stone that is…. you guessed it, half an inch or smaller. Ashfield Stone does not carry a crushed version of their quarried stone, but I was able to find Tonlino & Sons in East Otis, Massachusetts where they had a crusher and were willing to do a custom crushing for us. Johanna Anderson-Pratt, owner of Ashfield Stone helped me arrange for the supply of their cut-offs and pieces of stone that we could crush. A few phone calls later to Kyle Canepari to arrange trucking, and we were in business.

The aggregate before washing with all the dust and smaller material
Now we have a pile of crushed ashfield stone that will be perfect for our floor. It needs to be washed, as there is still a tremendous amount of dust and smaller particulate that we don’t want to include. However, that is a relatively simple process. Once washed, you can see the individual pieces with all their beautiful characteristics that are so unique to ashfield stone.

what the washed aggregate looks like
Mike Frost from Vermont Eco Floors will come down for the pouring of the floor by Valley Concrete and hand broadcast this aggregate across the floor along with a small amont of limestone to create some white contrasting. The concrete is being pre-dyed a cooler shade of gray to provide an appropriate color background. Some weeks later, Mike will return with his crew to do the grinding, and our floor will be revealed.
Whew! Lots of coordination, participation, advice and logistics. But in the end I think we will end up with a really special floor that is not only pragmatic, but a gorgeous complement to our new dining hall space.

Windows were installed in the program building this week. They look sharp, and transform the space from a construction shell to something more exciting and finished. A taste of what is to come.


Conduit lines carrying electrical and solar (as well as a spare or two) go into the student housing building.

In the construction world, MEP stands for “mechanical, electrical and plumbing.” For our project this refers primarily to our electrical and lighting systems (installed by Palmeri Electric), plumbing and water systems (M.J. Moran), solar system (Northeast Solar) and our fire sprinkler system (Fire Service Group). Connecting and supplying all these systems requires a large amount of planning (our recurring blog theme), and the layout can be quite impressive.


A smooth, neat hole after coring the foundation.

Hand dug trenches for water lines to exterior wall spigots run along the floor of the dining hall.
One thing I learned was how these supply lines are typically brought into a building basement. In some cases, they are trenched up to the foundation and then rise up along the exterior wall for an above-grade penetration into the sill or at joist level of the building. In other instances, they might actually penetrate the foundation below grade. I always assumed that a piece of conduit or tubing would be part of the cement form to create a hole during the foundation pouring. While this can and is done sometimes, it is now common to actually drill holes in the concrete wall after the concrete has cured.
This process allows the holes to be sized and located with great precision and also creates some pretty nifty looking cement cores that are fun to look at. The drills/saws they use are impressive, and are designed not only to cut through the concrete but also the rock and steel rebar that is part of the structure.

A complicated spaghetti of electrical conduit for outlets, switches, and exterior lights in the dining hall.
Rather than thread many different wires or pipes through conduits, it makes more sense to do just one or two per conduit. As a result there is a lot of conduit running around the site and under the floors. This is a three-dimensional challenge, as many of the different systems are set at different depths in the ground. Heating supply is the deepest, followed by other plumbing and with electrical near the top.

Earth moving equipment is back on site as more rough grading is done around the buildings. Being honest, this also could be a picture titled “Name Three Things Farmer Ben Would Love to Own!”

More and more vehicles are parked on site as various trades-people come in to do their work. This week we have plumbing, electrical, earth movign and carpentry hard at work. In the back you can see the roofing underlayment materials that have been installed in anticipation of the metal roof to be installed soon. It is a combination of roofing felt (for breathability) and the blue ice and water protection.

A view of the loading dock at the back fo the support space. The outer foundation is filled with packed gravel, to be covered with a slab of concrete. Note the piece of steel bolted along the wall to provide an engineered structural strength to the slab where it connects to the building.

Windows have finally arrived for the Program Building and are beginning to get installed. It is fun to see how much natural light will be coming into this space.

In order to avoid having a sprinker system in the program building, we had to design the building to have 5,000 or less square feet. Originally, we planned to have a full basement under the entire structure, which would have provided a lot of great storage space, but would have put us over this limit. As a compromise, we shrank the full basement to just a portion of the space under the support building that is attached to the dining hall. As a result, the other half of the support space will be what is called a “slab on grade” or a big piece of concrete on top of packed gravel.

This requires some important planning to ensure that the requisite plumbing, electrical lines etc. are all in place before pouring the concrete. Here you can see Scooter the cat doing a quick last minute inspection of the plumbing drains that were installed by the folks at M.J. Moran - our plumbing contractor. To me this is a remarkable demonstration of exact plans, careful measuring and installation - all in anticipation of pouring a very permanent concrete slab that will last the life of the building.
The end result is a poured slab floor that is of an exact height and matches perfectly the framed floor of the kitchen space. Together these spaces make up the support space area that will house our commercial kitchen, staff room and public bathrooms along with a corridor accessing the basement stairs.


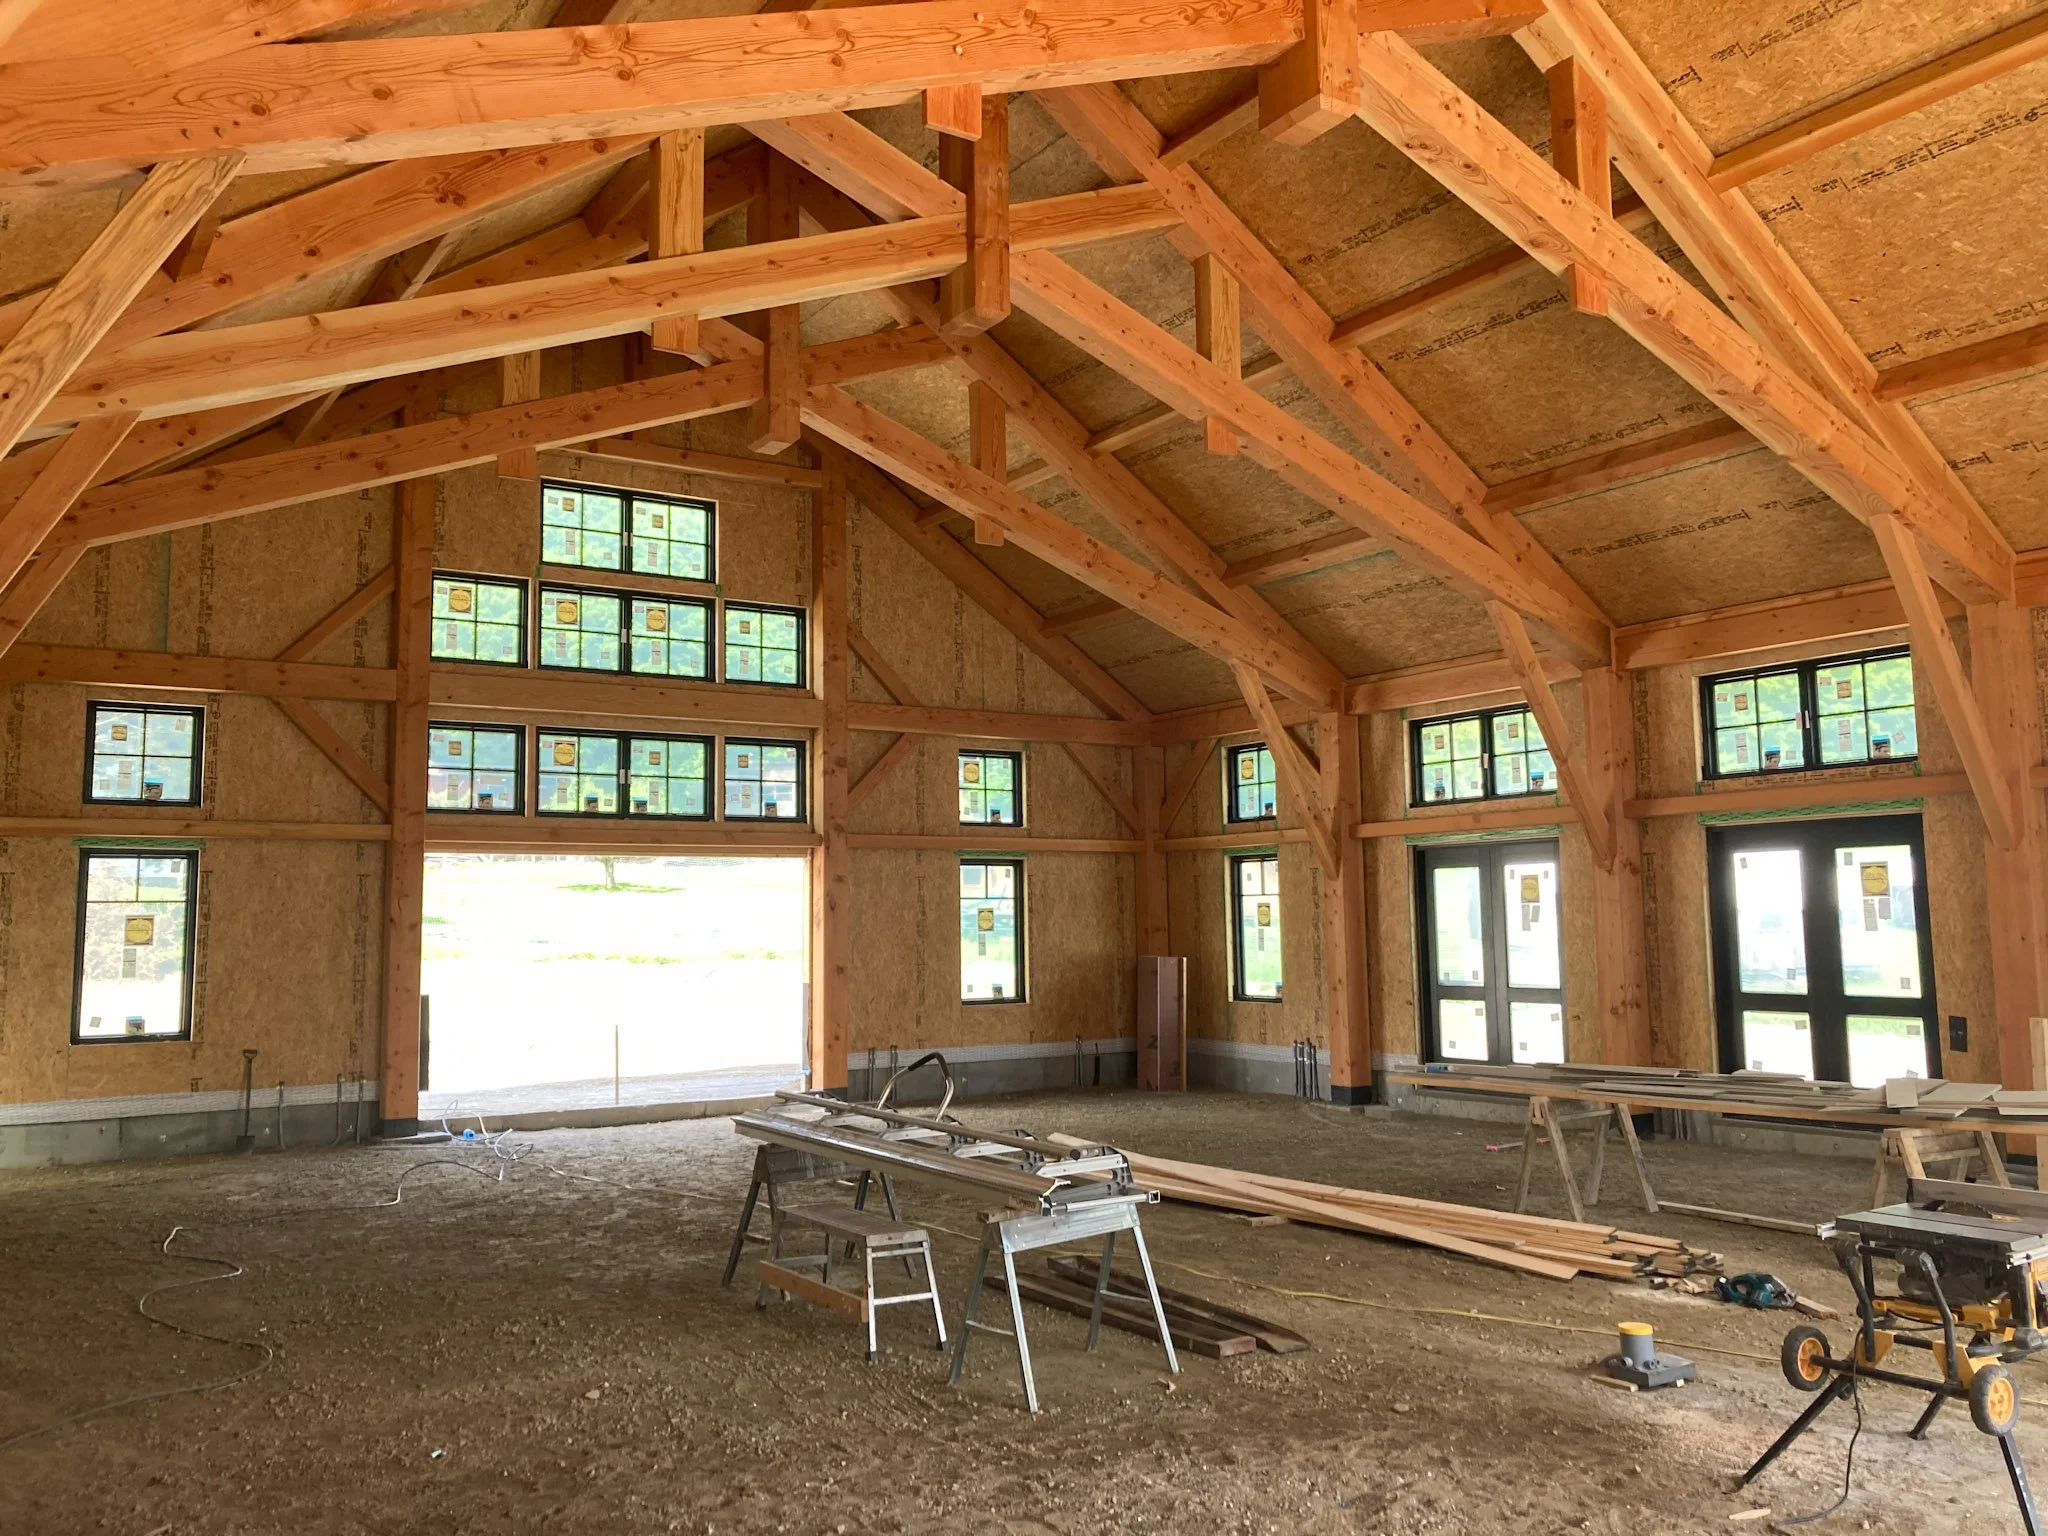
Pretty exciting to see the buildings come into their own. With roofs and paneling in place, one can start to get a real sense of what the finished structures will look like!


Now that the main timberframe structure has been built and SIPs have been installed, the builders can move ahead with framing the kitchen and support space building. Sequencing is a vital part of any construction schedule and it is a careful coordination and orchestration of many moving parts, contractors, materials and other elements that make it a challenging endeavor.
With the support trusses, an element that is particularly interesting to me is the joining of the two roof lines which are perpendicular to each other. Look carefully at the last building element on the left side of the roofing trusses and you can see the interesting build of rafters that mate these two elements. It is a lot of complicated angles and fitting that form an essential join of two structures - one that needs to be structurally sound and able to support waterproofing, insulation and other guards against New England Weather.

Finally, after the framing is complete, ZIP panels are installed. This is plyood which has a skin on the outside to provide a vapor barrier. Each seam is taped with a special adhesive tape which seals the edges and prevents moister from getting through this exterior barrier.
The installation crew use a lift machine type referred to as a Lull (a brand name) which not only can put builders on the roof, but also bring several panels for easier installation. Safety harnesses and ropes are a must for worker safety.

Workers install cement forms to received poured concrete. These are the footings for the back stairs which come down from the Student Housing building. Because of engineering requirements, the structure is pretty substantial, and it is important to prepare the ground (gravel) as well as install strong footings to hold the structure against any settling or shifting over time.

Wooden forms have been removed revealing the cured concrete shapes of the footings. These will then be buried with only the tops revealed. Note the threaded rod and strapping that is embedded at the top for creating a postive connection between the concrete footing and the wooden structure to be built on top.

Good building insulation is key to reducting operational costs (heat energy) and thus making the building greener with a reduced carbon footprint. One of the things that makes a timberframe unique is that it is a self-sustaining structure - it does not require plywood or siding material to make it structurally stable. As such, it makes an ideal candidate for SIP application. SIP stands for Structural Insulated Panels, and are commonly referred to as SIPs or SIP panels (which is a little redundant - similar to our useage of “PIN number!”). These are essentially big pieces of insulating foam that are sandwiched between two pieces of plywood or particle board.

Our SIPs are from Foard Panel and they have some neat pictures on their website about the panel fabrication process. The crew from Foard Panel arrive on site with the panels for for our structure along with a crane and lift to aid in installation. Window and door openings are pre-cut at the factory before they arrive, but there are also some adjustments and other cuts that need to be done in the field to match actual site conditions. Long screws are used to fasten the panels to the timberframe structure.

The whole point of the panels is to provide a “skin” on the outside of the timberframe that is well insulated. One possible weak-point in this system (and any insulation system for that matter) is the seams between panels. For this reason, the SIPs have a channel that runs down the edge of each panel, and holes are drilled in the face of the panel along this edge. Expanding foam is then injected all along the seam, and it fills this channel which is neatly matched to the other panel alongside. The result is a channel that spans both panels and is filled with expanding foam - making for a seamless insulated foam barrier along the entire wall.
Looking up at the roof, one can see all the beads of foam that have expanded out of their injection holes. After the foam hardens, it is then cut off flush to the surface. Newly injected foam takes a few minutes to fully expand and harden - one has to be careful walking inside to watch out for dropping dollops of foam that can glue themselves to your shirt or pants… and fun fact - foam is almost impossible to remove from work pants!


Where the roof overhangs needs to be joined to the Support Space structure which has a roof line that is perpendicular. For that reason, an angle is cut into the overhang. Here you can see the exposed insulation which will later be sealed in with some wood blocking after it is joined to the new truss framing.

CONTACT
Farm Director, Ben Murray (contact)
4 Norman Road, Ashfield, MA 01330
(413) 625-9503
click here for directions
OPPORTUNITIES
employment
volunteer