

Cement Floor Preparation
/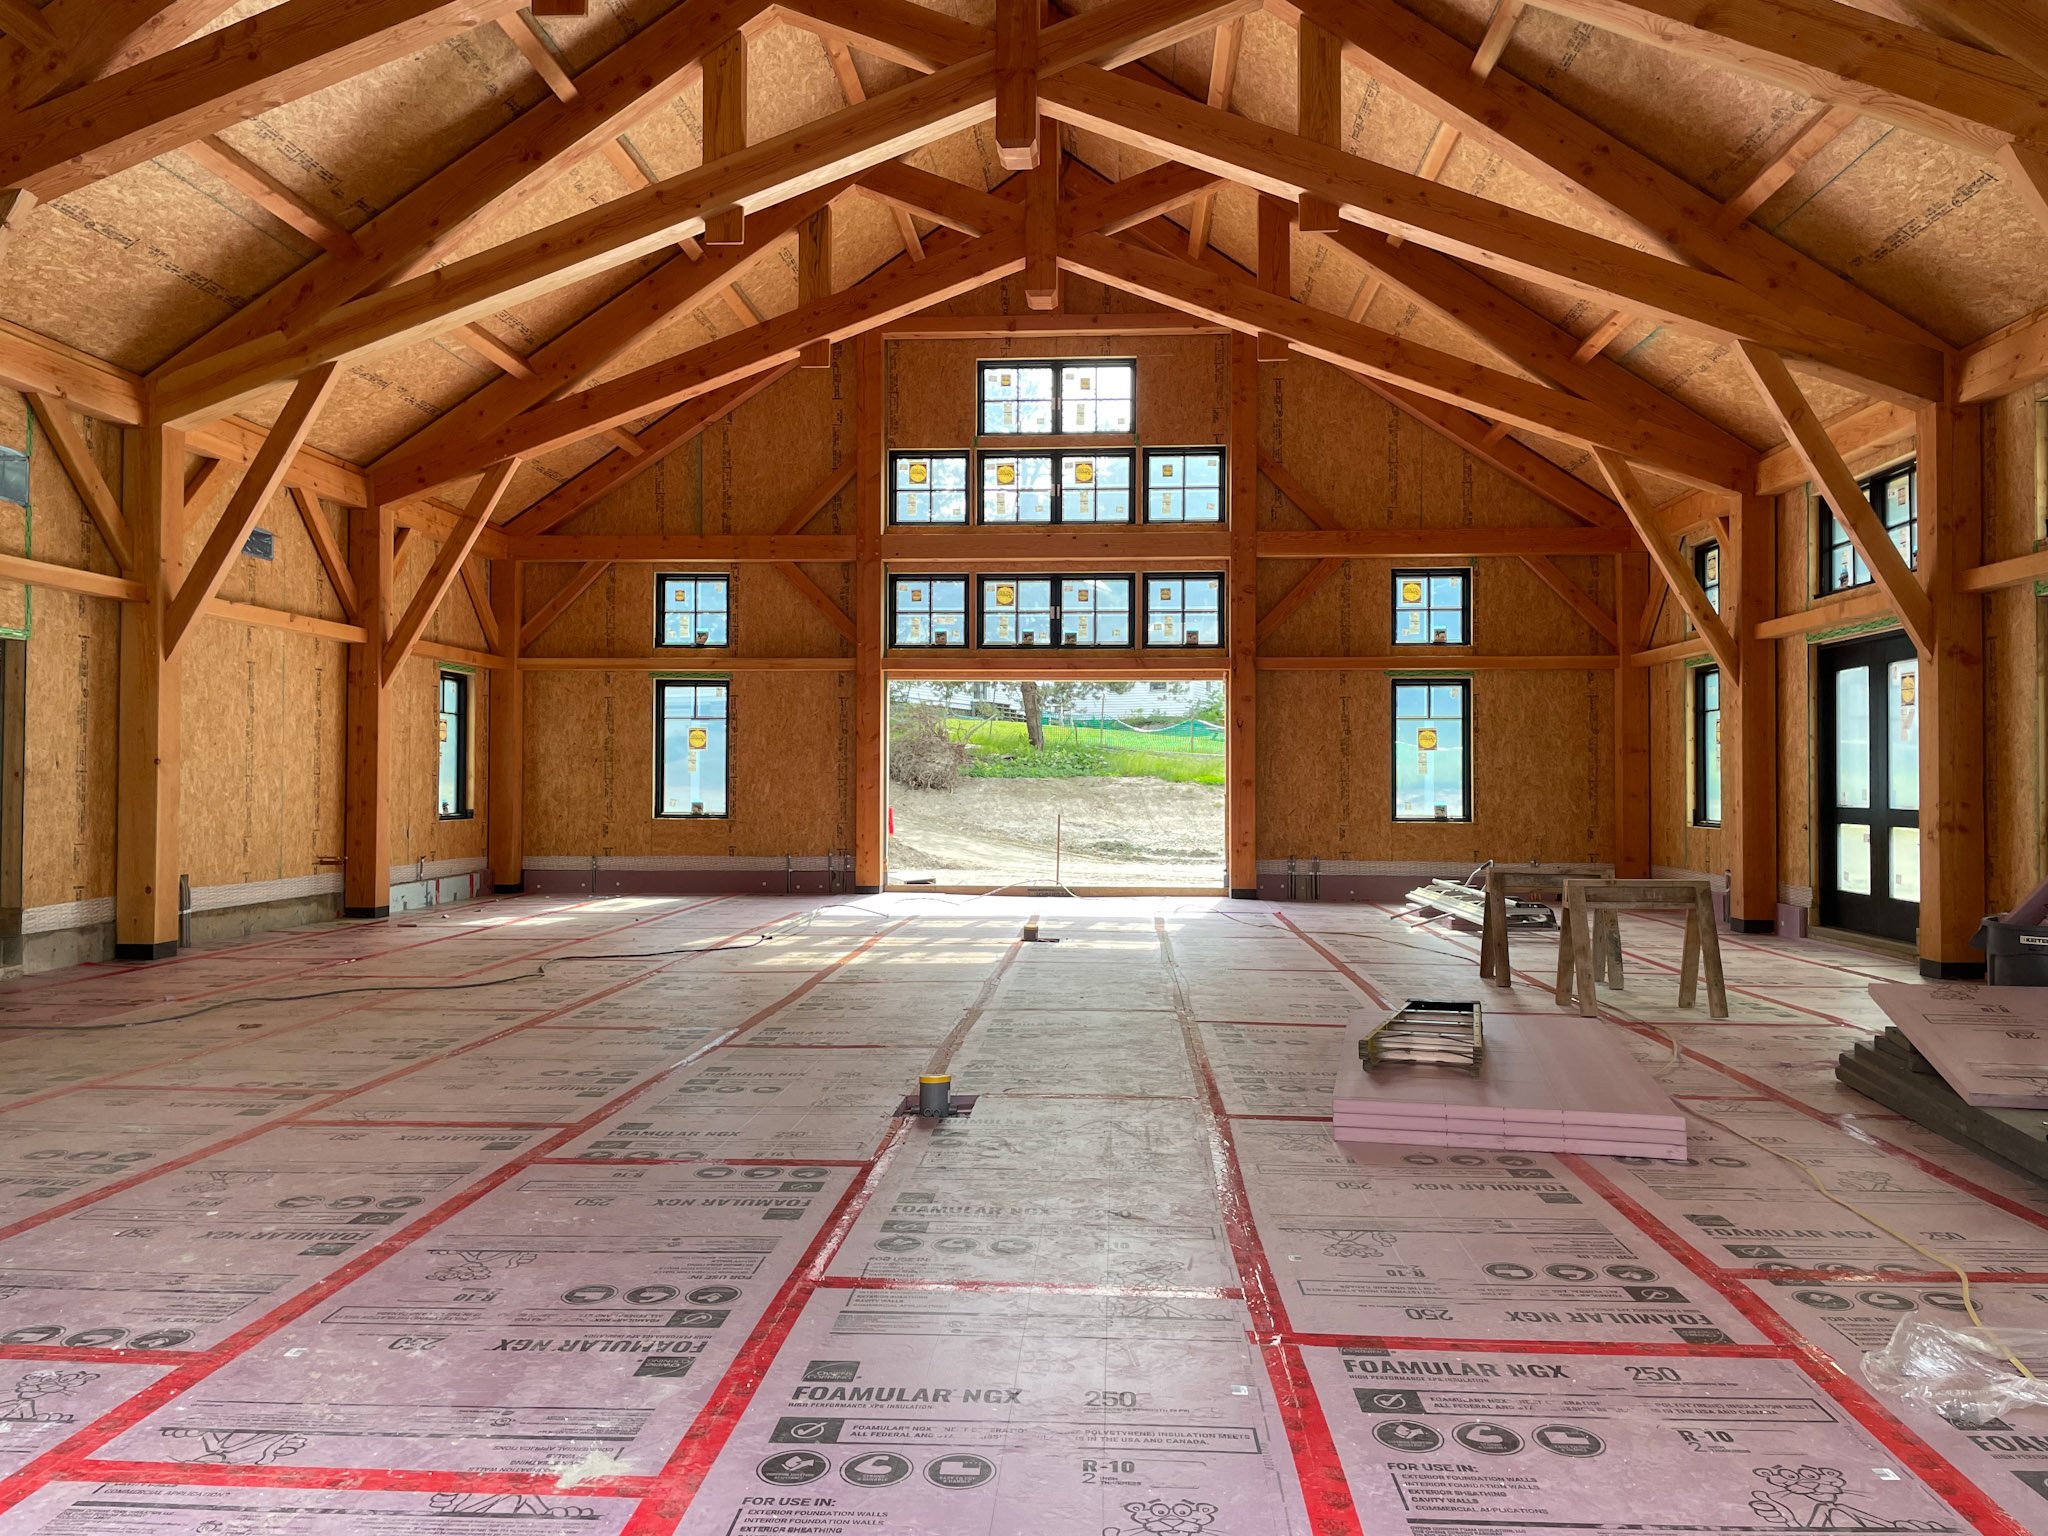
Panels of pink insulation board layed out and tape at the seams. Note the two small stacks in the center - those are electrical outlets that will be flush with the floor surface and enable us to run a projector or similar electrial device in the center of the room without requiring long extension cords.
A focus of this week is preparing the dining hall for the cement floor installation. For something as seemingly simple as pouring a big concrete slab, there is a lot of planning and work that is involved. There are many assemblies going into that floor that need to be accounted for - and once the floor is poured, there is no going back!

Cory checks measurements before cutting a panel to size. Each panel is 2” thick and there are two layers being installed - staggering the layers so that a seam doesn’t go all the way through to the floor.
Under our floor is already a spider-web of conduits and pipe for the electric and plumbing that needs to be fed on the outside walls. On top of that goes a thick layer of insulation. This will later be layered with the pex tubing that carries all the hot water in our radiant floor heating system. On top of that with be a third layer of mesh steel to reinforce the concrete and ensure it holds together properly over time.
All of these items have a thickness to them that needs to be calculated well ahead of time to ensure that the top of the floor is exactly level with the tile in the kitchen. Oh, did I mention that the kitchen floor is the determining reference point for ALL the building floor heights!?! Once we determined the kitchen tile floor height (sub-floor + tile thickness), everything gets worked backwards from that. Remarkable.
